 Pololegens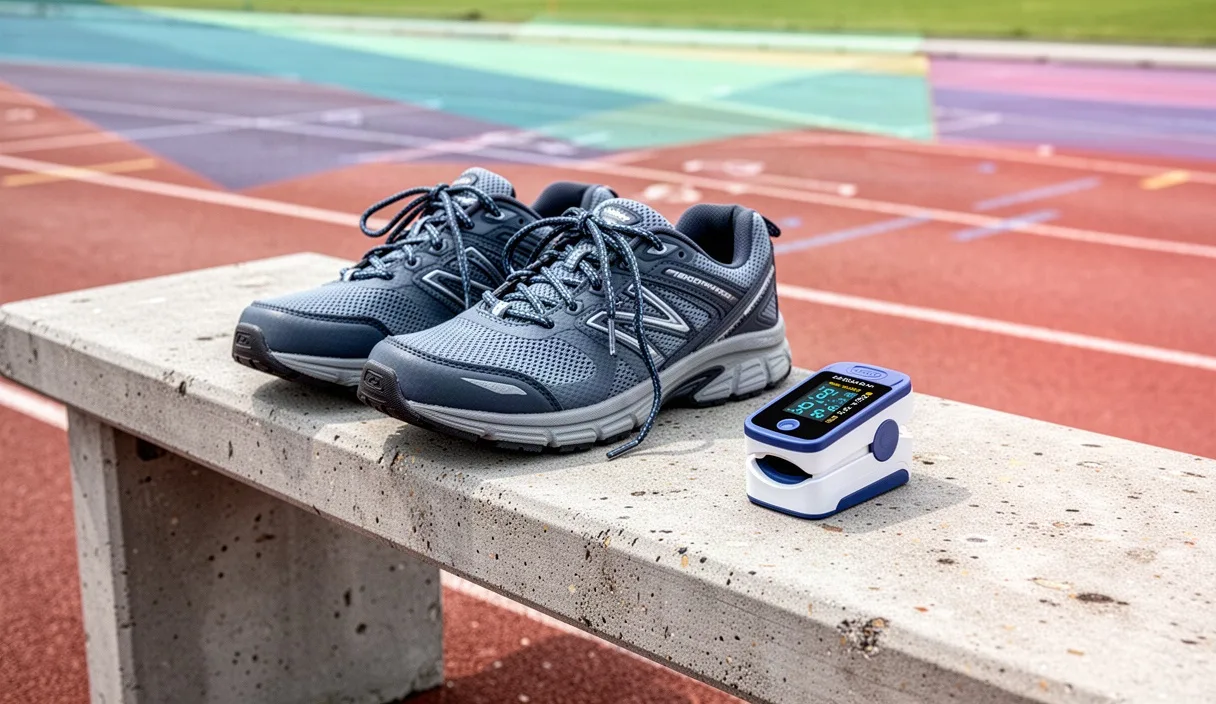
Hypoxic training through voluntary breath-holding is a method of temporarily reducing oxygen delivery to tissues while accumulating carbon dioxide in the blood. This technique does not require specialized hypobaric chambers or altitude masks. It is based on precise control of the respiratory rhythm and performing breath-holds during low-intensity movement, such as simple walking. The goal is to expose the body to brief, controlled intervals of hypercapnia and hypoxemia.
This type of exercise is intended for endurance athletes, freedivers, and individuals wishing to improve their respiratory function. Its application modifies the sensitivity of chemoreceptors to respiratory acidosis, strengthens diaphragm function, and stimulates splenic contraction to release red blood cells. Before starting such exercises, a medical assessment of the cardiovascular and respiratory systems is required. Underlying conditions, such as cardiovascular issues or asthma, make this method unsuitable without specialized guidance.
Bohr effect and hemoglobin oxygen binding
Hemoglobin is the red blood cell protein that transports oxygen from the lungs to the cells. Oxygen binds chemically to the iron atoms of hemoglobin. The release of this oxygen to muscle tissues is regulated by carbon dioxide concentration and plasma pH. This mechanism is called the Bohr effect, named after the Danish physiologist Christian Bohr who described it in the year 1904.
When you hold your breath, cells continue to consume oxygen and produce carbon dioxide. Carbon dioxide accumulates in the blood, reacts with water, and forms carbonic acid. This process increases the concentration of hydrogen ions and lowers pH, making the blood slightly more acidic. Acidosis alters the conformation of the hemoglobin molecule. Its affinity for oxygen decreases, and the molecule releases the bound oxygen molecules directly to the tissues that need them.
Conversely, rapid and deep breathing (hyperventilation) expels excessive amounts of carbon dioxide. Blood becomes alkaline, and hemoglobin retains oxygen instead of delivering it to muscles and the brain. Breath-holding trains the body to tolerate higher partial pressure of carbon dioxide, keeping the Bohr effect active during exertion.
| Parameter | Hyperventilation (Low CO2) | Controlled breath-hold (Elevated CO2) |
|---|---|---|
| Blood pH | Elevated (Alkalosis above 7.45) | Reduced (Mild acidosis around 7.32) |
| Hemoglobin - O2 affinity | Very strong (Difficult release) | Weakened (Easy release) |
| Peripheral tissue oxygenation | Reduced due to vasoconstriction | Increased due to diffusion |
| Cerebral vessel diameter | Constriction | Dilation |
Step protocol with breath-hold after natural exhalation
The following protocol is performed exclusively on safe, flat ground without obstacles. The exercise is performed after a natural, passive exhalation. Do not forcefully empty the lungs. Allow the air to leave naturally down to the functional residual capacity (FRC). At this volume, the lungs contain approximately 2.2 to 2.4 liters of air, which makes the exercise safer and more effective than holding on a full inhalation.
Measurement is done by counting the steps taken during the breath-hold. The step method provides an objective view of progress without the need for a handheld stopwatch during movement.
- Breathing adjustment: Walk at a steady pace for 60 seconds, breathing exclusively through the nose. The rate should be 12 to 14 breaths per minute.
- Passive exhalation: Exhale gently through the nose without engaging the abdominal muscles. At the end of the exhalation, pinch your nose with your fingers to prevent air entry.
- Walking with breath-hold: Continue walking at the same pace while holding your breath. Count your steps starting from 1. Stop the breath-hold as soon as the first moderate urge to breathe occurs (usually between 18 and 35 steps for beginners).
- Controlled recovery: Release your nose and inhale gently through the nose. The first inhalation should not be gasping or noisy. If you need to open your mouth to breathe, you held your breath for too many steps.
- Recovery interval: Walk normally with nasal breathing for 90 seconds. Wait for the heart rate to return to baseline before the next repetition.
Perform 4 to 6 repetitions in a single session. Do not rush to increase the step count. The ability to maintain calm nasal inhalation immediately after ending the breath-hold is the sole indicator that the intensity was appropriate.
Safety rules: avoiding exercises in water or while driving
Hypoxic training alters blood chemistry and decreases cerebral cortex oxygenation. This state carries a risk of sudden loss of consciousness without warning. For this reason, strict restrictions apply to the training environment.
Performing any breath-hold exercise in water, whether in a pool or the sea, without a certified safety diver dedicated solely to monitoring you is strictly prohibited. Shallow water blackout happens instantly. The diaphragm relaxes automatically after loss of consciousness, and the practitioner inhales water within fractions of a second, leading to drowning.
Practicing while operating machinery, driving a car or cycling, as well as while standing on hard surfaces without support, is equally dangerous. If hypoxic syncope occurs while walking on asphalt, the injury from falling can be severe.
Signs to stop the exercise immediately
- Feeling dizzy or unsteady on your feet.
- Tingling sensation in the lips or fingertips.
- Tunnel vision or dark spots in the visual field.
- Involuntary contractions in the diaphragm causing chest pain.
- Loss of motor coordination (ataxia).
If any of the above symptoms appear, stop walking immediately, sit on the ground, and resume normal breathing. Consult a doctor if the symptoms do not subside within 2 minutes.
SpO2 saturation measurement with a pulse oximeter
A fingertip pulse oximeter is the primary device for tracking the effectiveness of hypoxic training. It measures arterial hemoglobin oxygen saturation (SpO2) by emitting red and infrared light. At rest, normal values range between 95% and 98% at sea level.
During a breath hold after exhalation, values begin to drop. However, there is a time lag (sensor latency) of 12 to 18 seconds between the drop in oxygen in the pulmonary alveoli and its recording at the fingertip. This means that the lowest SpO2 reading will often be recorded a few seconds after you have resumed breathing.
For safe adaptation at home, SpO2 should not drop below 86%. If saturation drops to 83% or lower, the cardiovascular system undergoes excessive stress without added training benefit. The target for an athlete is to reach controlled values between 88% and 91% by the end of the recovery interval of a challenging repetition.
| SpO2 Level | Physiological status | Recommended action |
|---|---|---|
| 95% - 98% | Full resting saturation | Normal protocol start |
| 91% - 94% | Mild hypoxemia | Safe zone for beginners |
| 86% - 90% | Moderate controlled hypoxia | Target for advanced athletes |
| Below 85% | Severe hypoxemia | Immediate stop and extend rest period |
Make sure your hands are warm before measuring. Cold extremities cause peripheral vasoconstriction, leading to falsely low readings or the device failing to detect a pulse.
Adjusting weekly training volume
Adapting to hypoxia requires a gradual increase in load, just like strength training. The nervous system needs time to reduce the panic response triggered by rising CO2 levels. A four-week period allows for the safe adaptation of the diaphragm and kidneys, which regulate acid-base balance through bicarbonate retention.
The table below outlines the structure of a four-week program. Frequency should not exceed 3 sessions per week, with at least 48 hours of recovery in between.
| Week | Sets x Repetitions | Step target | Rest time | Frequency |
|---|---|---|---|---|
| Week 1 | 1 set x 4 repetitions | 15 to 20 steps | 90 seconds | 2 times / week |
| Week 2 | 1 set x 5 repetitions | 20 to 30 steps | 90 seconds | 3 times / week |
| Week 3 | 2 sets x 3 repetitions | 30 to 40 steps | 75 seconds (3 minutes between sets) | 3 times / week |
| Week 4 | 2 sets x 4 repetitions | 40 to 55 steps | 60 seconds (3 minutes between sets) | 3 times / week |
If you lose control of nasal breathing during recovery on any repetition, reduce the next repetition by 10 steps or increase the rest period by 30 seconds. Fatigue in hypoxic training is cumulative and directly affects the central nervous system.
Common execution errors
The most common mistake is hyperventilation before holding your breath. Many practitioners take deep, rapid breaths thinking they are loading their body with oxygen. This merely purges carbon dioxide. The urge to breathe is artificially delayed, causing oxygen levels to plummet to dangerous levels before the brain detects the need to breathe. Preparatory breathing should remain completely calm and effortless.
A second mistake is tension in the upper body muscles. While holding their breath, many people tense their shoulders, neck, and jaw. Muscle contraction consumes oxygen at a rapid rate and doubles carbon dioxide production, drastically reducing the distance you can walk. Keep your torso and face relaxed throughout the walk.
Finally, mouth recovery negates the benefits of the training. Opening your mouth after the breath-hold causes a sharp drop in CO2 and a sudden spike in heart rate. If you cannot take your first breath through your nose, you have exceeded your physiological limit.
Next Practical Steps
To incorporate these exercises into your weekly routine, start by establishing your baseline. On the first day, sit quietly for 5 minutes and measure how many seconds you can comfortably hold your breath after a natural exhalation, up until the first involuntary movement of your diaphragm. This number serves as your reference benchmark.
Get a reliable pulse oximeter and a notebook. Record the date, the number of steps in each repetition, and the lowest SpO2 reading observed. Follow the protocol on an empty stomach, preferably in the morning or at least 2 hours after a light meal, as digestion consumes significant amounts of oxygen and restricts diaphragmatic movement.
Stick to the program consistently for 4 weeks without altering the parameters. If you have a history of cardiac arrhythmias, aneurysms, or metabolic balance, obtain written clearance from your physician before attempting any breath-holding while in motion.